Your Complete Guide to Removing Stains from Baby's Clothes
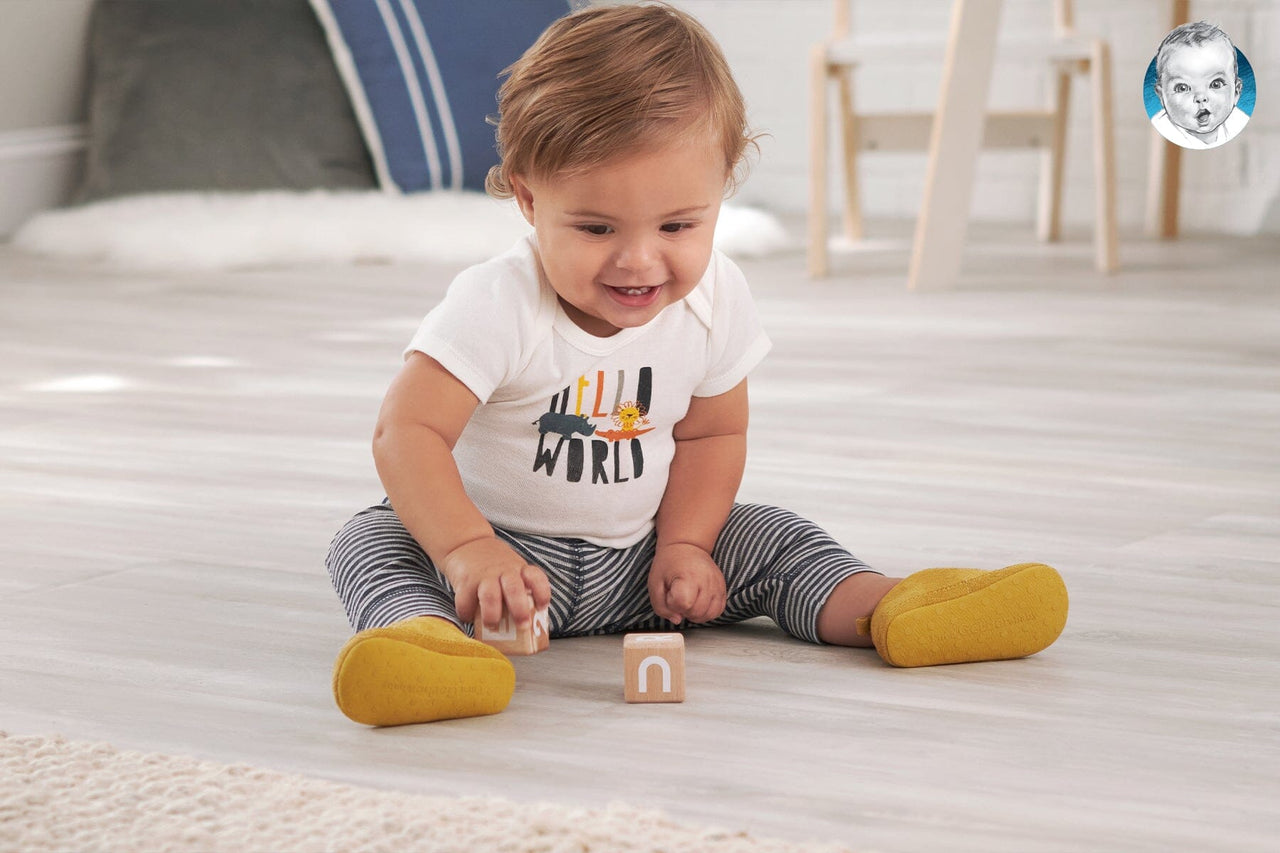

Baby’s first year is quite expensive. According to recent government estimates, parents spend over $12,000 on baby care and supplies in the first 12 months of their child’s life. Since you and your family are working to adjust your budget, you’ll be looking to save money anywhere you can. One of the highest costs for new parents during the first year is infant clothing. Even if you get tons of items during your baby shower, your little one will grow fast. This means you’ll have to purchase new Onesies® Brand bodysuits, sleepwear and pants every few months, especially if you didn’t get several different sizes of clothing before your baby was born.
Damage to buttons and zippers, as well as staining, can make you have to replace baby’s garments even sooner. By buying quality items and learning how to remove the different types of infant stains from baby clothes, you’ll extend the life of the baby clothing you have now. You’ll also make it easier to wash your child’s garments, no matter what types of stains happen to appear. Follow this guide on how to remove stains from baby clothes each time your baby spills food on their shirt or spits up a bit of milk. With these tricks and tips, you’re sure to stress less and save more.
Step 1: Rinse or Blot Stains in the Sink
From breastmilk to baby food, there are a variety of different stains your child can get on their clothing. No matter the type of mark or blemish that appears, you’ll want to rinse it off as soon as possible. Quick action after a spill, accident or mealtime will prevent liquids and solids from setting inside the fabric and becoming harder to remove later.

If you’re near your kitchen or bathroom sink, gently remove the garment from your baby’s body. Once you change them, you should run the bodysuit or pair of pants under cold water. When you’re done rinsing the stain, fill the entire sink basin with cold water. Let the item soak in the sink for at least 10-15 minutes. If the blemish is especially dark or deep, don’t be afraid to soak it for longer. In the event you can’t change baby at the time, or you are spending time outside the home, you can use a napkin, paper towel or burp cloth to blot the stain with cold water.
When all else fails, grab a disposable baby wipe from the diaper bag. Rub the stain to agitate it and then take a deep breath and wait to take further action when you get home. Once you and baby are settled, you can rinse it with cold water, place it in the sink and let it soak for an hour or more.
Step 2: Gather a Few Pre-Wash Supplies
After you finish soaking, check the garment for results. If you notice the soiling starts to loosen in the cold water, you can then wring it out and begin your pre-wash routine. Squeeze and twist the bodysuit, jacket or pants until the excess liquid is removed. Now, it’s time to grab your pre-wash supplies.
First, you’ll need a soft-bristled brush. Many stores and online shops sell laundry brushes, but you can also use a clean, fresh makeup brush. Some soft mini hair brushes are also appropriate. Rub the tool on top of the stain to agitate it and help break it apart, similar to when you blotted the stain with water or a wipe.

Next, apply a pre-wash stain remover. When shopping online or in stores, look for products that are made especially for babies. According to WebMD, these are usually fragrance-free, dye-free and hypoallergenic. Some of them include natural or plant-based ingredients, which take the place of potentially harmful chemicals often found in regular stain removers. If you have any questions about which stain remover to choose, talk to your child’s pediatrician.
When you have the product you desire, pour or spray it directly onto the stain. If you’re cleaning a larger item, such as a shirt or pair of pajamas, let the mixture soak in for a moment and then rub both sides of the fabric with your finger. Now, let the garment sit for at least 30 minutes. If it’s been sitting in the laundry for a couple of days, you may want to let the stain remover soak in for at least a few hours. Some moms like to spray multiple pieces of clothing and then let them sit overnight for laundry in the morning.
Step 3: Learn the Top Pre-Wash Tricks
When certain stains set in the fabric, such as those from urine or feces, you may require a more unique approach. Moms who need to remove pee should grab a large bowl that they no longer use for cooking. Combine cold water from the tap with equal parts rubbing alcohol. Let the garment sit in the mixture for at least 15-20 minutes.
If you notice the blemish starts to lift from the fabric, you can throw it in the washing machine with hot water. The hot temperature will help to kill germs. If you have a persistent urine stain that won’t lift, try a combination of vinegar and water in your bowl. Soak for the same amount of time as the rubbing alcohol mixture.
Pesky poop stains should lift with a combination of dish soap and water. Instead of using your baby-friendly stain remover, you can apply a fragrance-free dish soap to the stain. Rub it in with your finger or just use your soft brush. Rinse with cold water and then run the item in the washing machine on hot. Be sure to wash your hands thoroughly after agitating the stain.
Spit up is another common stain needing a pre-wash routine. It can be coaxed out with a combination of water and baking soda. Rub the mixture on the stain and then let it sit for 5-10 minutes. Blot with more cold water and then use your pre-wash stain remover before washing the garment in warm water. Dreft also offers a portable pretreater pen to remove stubborn stains on the go.

Step 4: Wash Baby’s Clothing
Now that you’ve completed your pre-wash routine, it’s finally time to launder baby’s clothing. Unless you’re washing contaminated items, such as those with urine or feces on it, it’s not necessary to separate the stained garments from other ones. Put as many shirts, pants and pajamas into the washing machine as you want. Soiled diapers and garments should be put in their own batch.
Pour in a baby-safe detergent such as Dreft by P&G and then put the washer on a gentle or delicate setting to help protect and preserve each clothing item. Once the wash is over, examine each article of clothing. If a certain bodysuit or PJ set is still soiled, repeat the pre-treat and wash cycles.
Step 5: Dry Baby’s Clothing
By now, your baby’s clothes should be free of stains. Take them out of the washing machine and then pop them in your dryer. Use a low or delicate setting for little garments. If any of the clothing is prone to shrinking, you can choose to hang them on an outdoor clothesline or in a bathroom over your shower rod instead.
If you like fresh fragrance, you may be used to using dryer sheets for your clothes. Keep using them for your loads but consider keeping them out of the infant laundry. Little ones have delicate skin, so the ingredients found in the sheets may irritate them. There are also dryer sheets made for babies and families. Purchase these types of products if you think extra freshness is necessary.
Removing Stains from Other Essential Baby Items
As you’ll soon find out, baby clothing isn’t the only thing that’ll be susceptible to stains. Your feeding and diapering supplies can also become dirty with blemishes and marks. The good news is that you can pre-treat, wash and dry these items in a similar fashion. If you’re using cloth diapers, you’ll need to become an expert at stain removal. We invite you to explore our guide to how to clean cloth diapers for more information, but here are a few basic tips.

After removing surface stains with the pre-wash tricks above, place the diapers in your washing machine on a pre-rinse cycle. This will help to remove any remaining stains and prepare the diapers for the regular wash. Add your baby-safe detergent and make sure you’re using a cycle with hot water. The temperature will help to kill germs inside the cotton fabric. Since colors can bleed in a hot wash, make sure you only place white diapers inside the machine tub.
When it comes to cloth baby bibs, pre-treat the certain type of stain as you would with diapers or clothing. Wash in warm water and then air dry or place in the machine on a low setting. You can clean dirty burp cloths by spraying them with a stain fighter. Let the cloths sit with the mixture on them for a while and then throw them in your washing machine. When you’re ready to dry them, put them in your dryer on a low setting or hang them to air dry.
Extra Tips for Better Laundry Care
While the steps in the guide above should help you remove most types of baby stains, here are a few more pointers to make your laundering experience even easier. If an item is still soiled after washing it in your machine, don’t be afraid to repeat the routine again. It may be frustrating at first, but soon you’ll become experienced at pre-treating, washing and drying each type of stain using your own machine and tools.

When a blemish just won’t seem to budge, some moms say they like to use the garments for their feeding sessions or sleep. Onesies® Brand bodysuits are the perfect choice for day or night, so you won’t feel as bad about losing one of them to a stubborn food stain. Some fabrics, such as polyester, silk and wool, may require special care, so read each of baby’s clothing labels carefully for instructions on how to wash them. Hand washing or a certain temperature setting may be required to preserve the garment for as long as possible.
Preserving Baby’s Clothes at Home
The best way to deal with special clothing without stress is to wash all of your similar items in a single load. Set aside a delicate pile so you are able to launder everything on a single day or weekend. When drying, avoid long cycles and the hottest settings. Materials that are susceptible to shrinking may be better off air drying.
If you do shrink a clothing item or a stain won’t come out, don’t feel guilty. Life happens—and what matters is that your baby is happy and healthy. Look for multipacks of shirts, pants and bodysuits to help save money. You can also choose durable cotton and organic cotton materials so each garment stands the test of time.

You can’t prevent your baby from growing big and fast, but you can pre-treat, wash and dry the smart way. These tips and tricks will be invaluable in the years to come. You’ll find them especially helpful as your toddler and child will continue to grow by leaps and bounds.
